Walking You Through a Tire Change
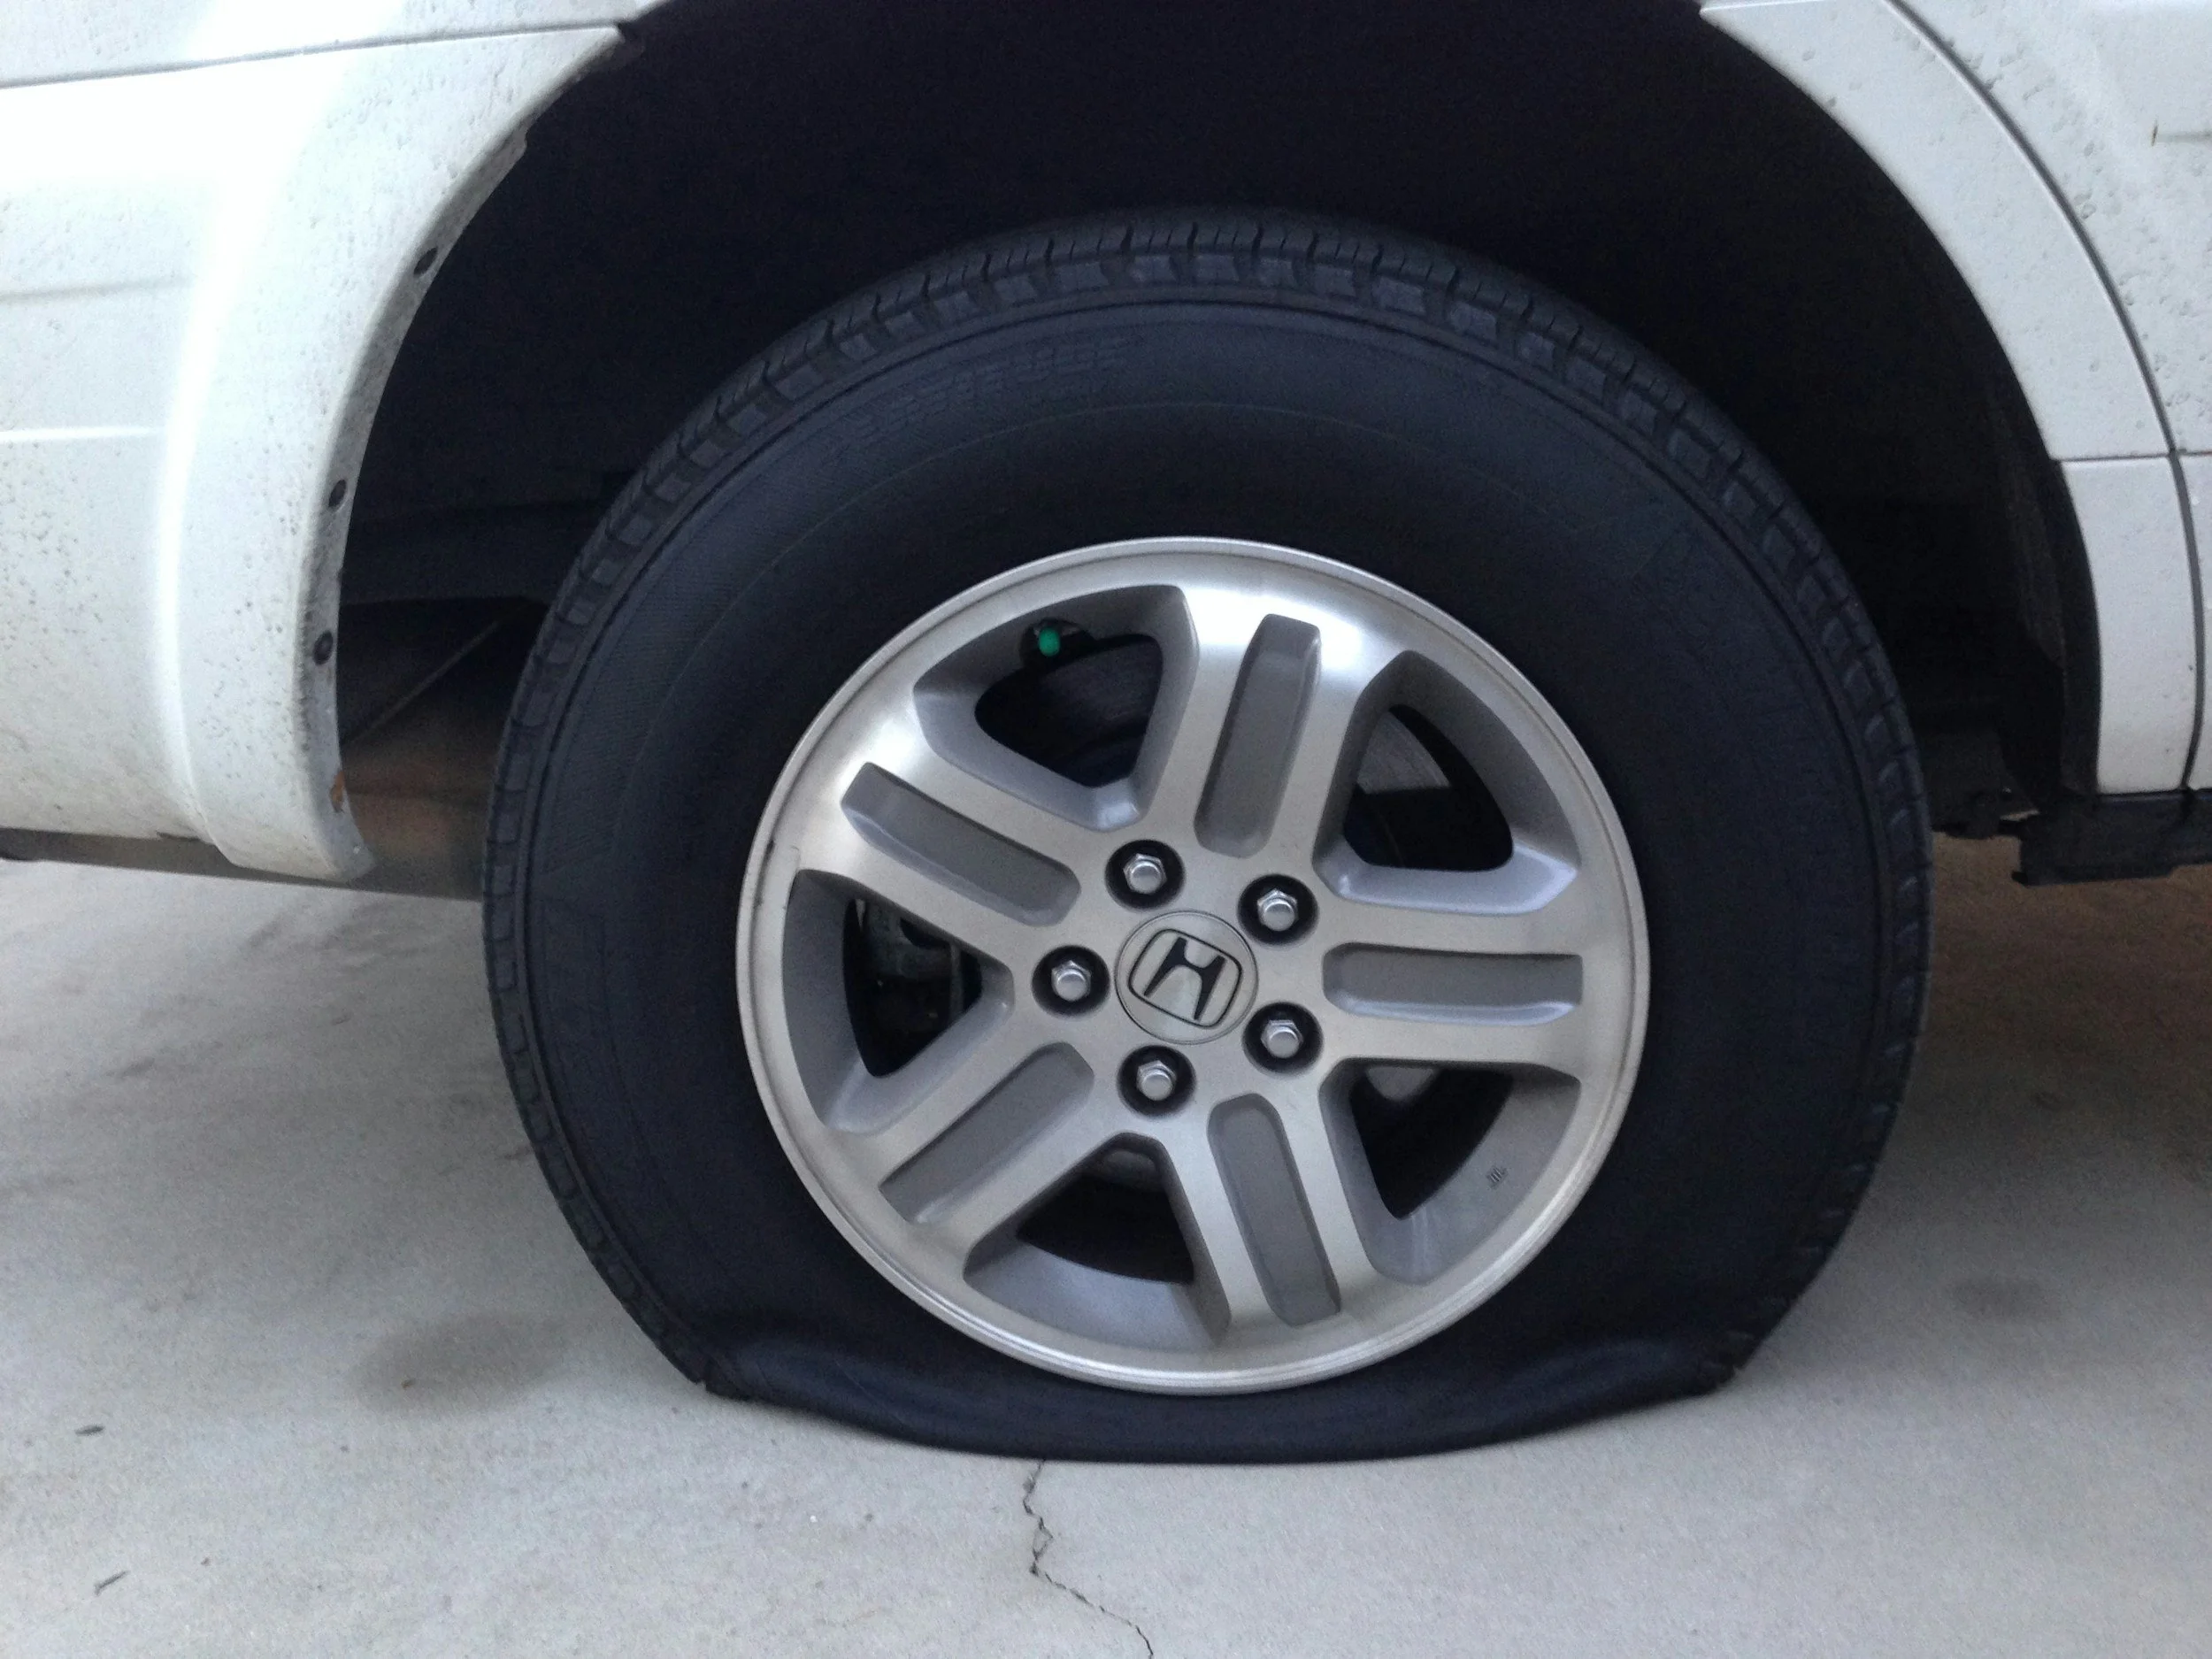
While it may seem like a simple task to some, only about 50% of people know how to change a tire. A flat tire can take a joyride from fun to stressful in minutes. Flat tires are always an inconvenience and usually happen due to extenuating circumstances, not the driver’s decision or driving skills. Especially in the warmer months with construction running rampant, driving over a nail or something sharp is, unfortunately, a common experience.
In situations like this, you have a few options. You can call a roadside assistance provider and wait for them to come fix your vehicle, you can call a friend or family member who knows how to change a tire and wait for them, or you can change it yourself (if you know how, that is). Learning how to change a tire is a necessary skill for drivers. In this blog, the Impact team is going to walk you through how to change a tire properly so you can tackle the crisis head-on.
Make Sure You’re In a Safe Location
The first step to changing your tire is to ensure that the area you are in is conducive to pulling over and being safe. If your tire pops immediately while you’re on the highway, make sure you pull over the whole way and turn on your four ways or light road flares if you have them. If you are in an area where you do not feel safe exiting your vehicle, call 911 or an emergency number. After all, if you cannot safely exit your vehicle, you cannot be expected to manually change your own tire.
Preparing to Change the Flat
There are some steps you should follow before you even get out your spare tire. They include…
Put the car in park or first gear.
Pull the parking brake.
Use a check to stabilize the tire or use a rock if you don’t have one.
Make sure everyone has exited the vehicle.
Ensure you have the following equipment: lug wrench, jack, inflated spare tire, and your car owner’s manual.
If you are missing any of the equipment listed above, go out as soon as possible and grab it. Those are the absolute essentials for being able to successfully change a tire. There are some more optional pieces of equipment that can help you be successful in this endeavor as well. These include wheel wedges, gloves, a flashlight, reflective triangles, a rain poncho, wood block to stabilize your jack, and a torque wrench for lug nut tightening.
Step-by-Step Process
1. Pull over in the safe spot we talked about earlier.
Put on your hazard lights and come to a complete stop off of the road. Pull your parking break and place the wheel wedges behind or in front of your car to stop it from rolling. If you are changing a front tire, your chocks should be behind your back wheels and if you are changing a rear tire, your chocks should be in front of the front wheels.
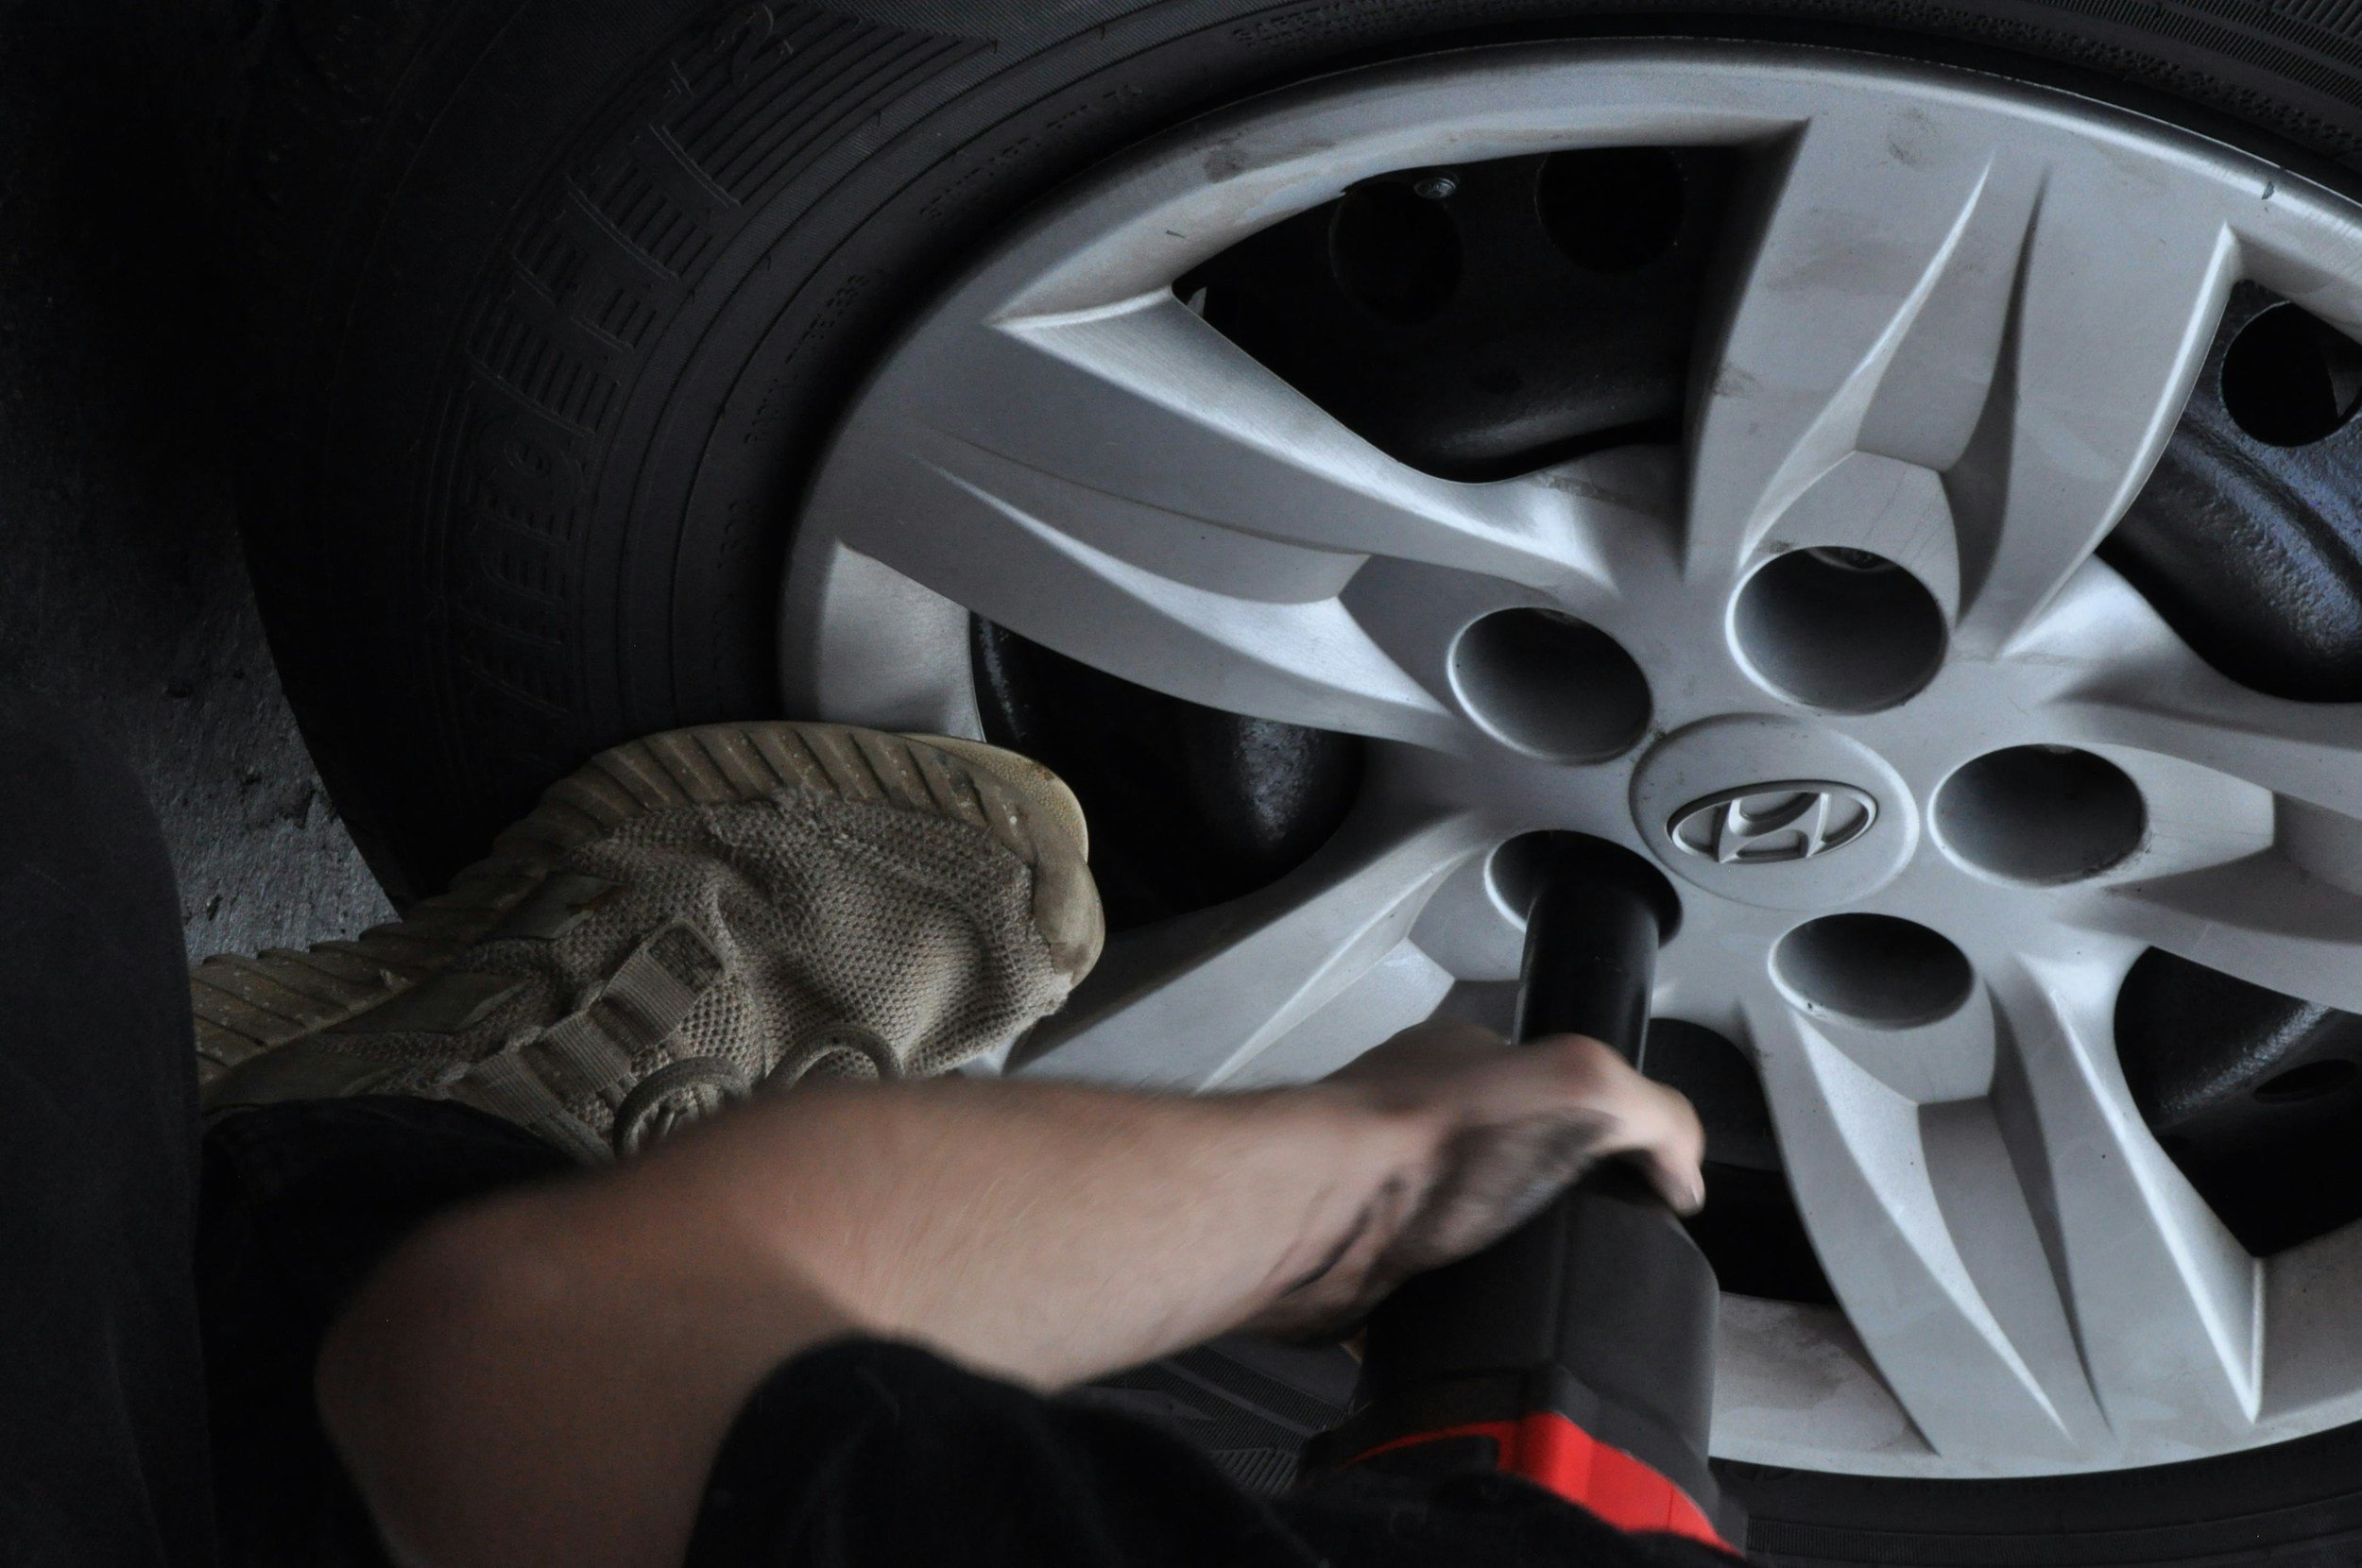
2. Remove the hubcap.
This requires you to use the flat end of your lug wrench and can be skipped if the lug nuts on your tire are already exposed.
3. Loosen the lug nuts.
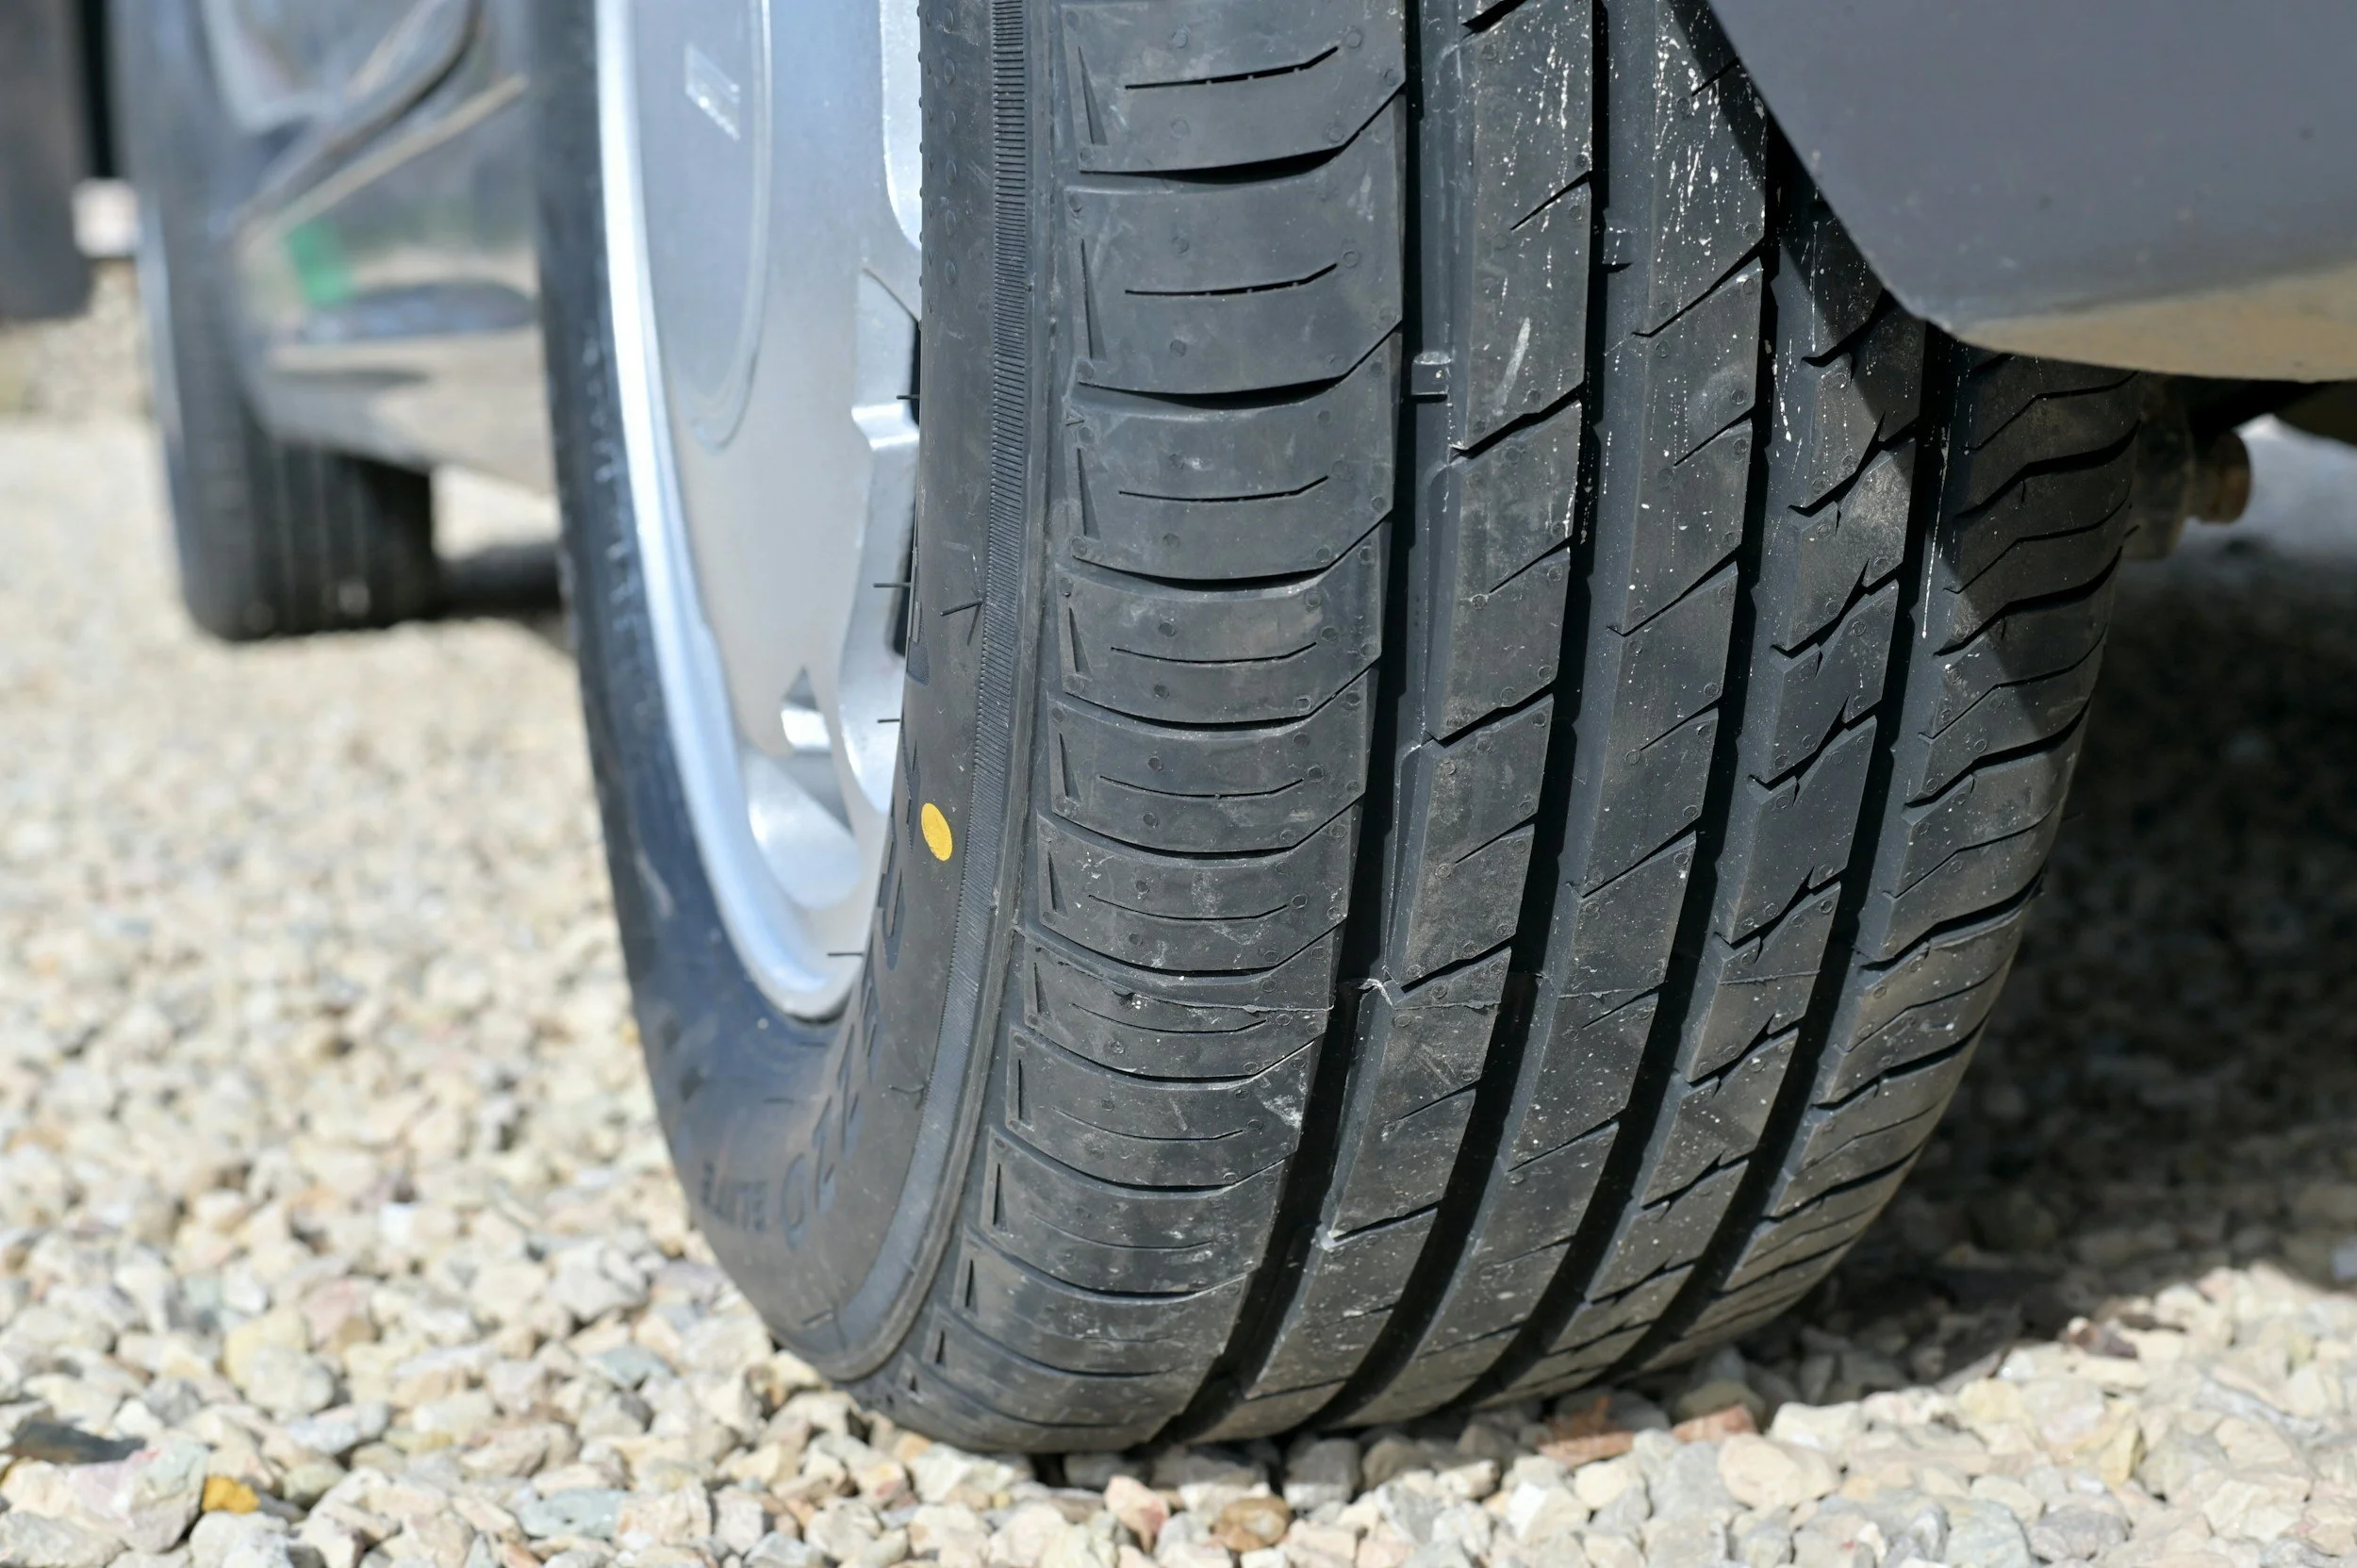
After your hubcaps are off, you have to loosen, but not remove, the lug nuts from the flat. If you’re not sure, a lug nut is a fastener used to secure a wheel on a vehicle. They form a circle in the center of your tire. Turn them counterclockwise until you are able to loosen them by hand.
4. Placing and expanding the jack.
Use your manual to find the right spot to put the jack on your specific vehicle. Usually, it should go under the vehicle in line with the tire. Make sure you get the entire way under the car, so as not to damage the exterior. Always refer to your manual for specifics regarding your jack and make sure you are on flat ground when jacking to prevent tipping. Once it is in place, crank the jack so that it begins to rise and lift your car. You want the tire to be about 6 inches off the ground. Do not place yourself under the vehicle when it is raised.
5. Remove the lug nuts and then the tire.
Take the already loosened lug nuts off the rest of the way and keep them nearby. Then, grip the tire by its treads and pull it off of the spokes. Set it on the ground so it doesn’t roll away or into traffic. Be aware that your tires may be hot if you were driving fast prior to the flat. Let them cool before touching so as not to burn yourself. It can be a good idea to place the tire you’ve just removed near the jack to stop the car from dropping all the way to the ground if it slips off the jack.
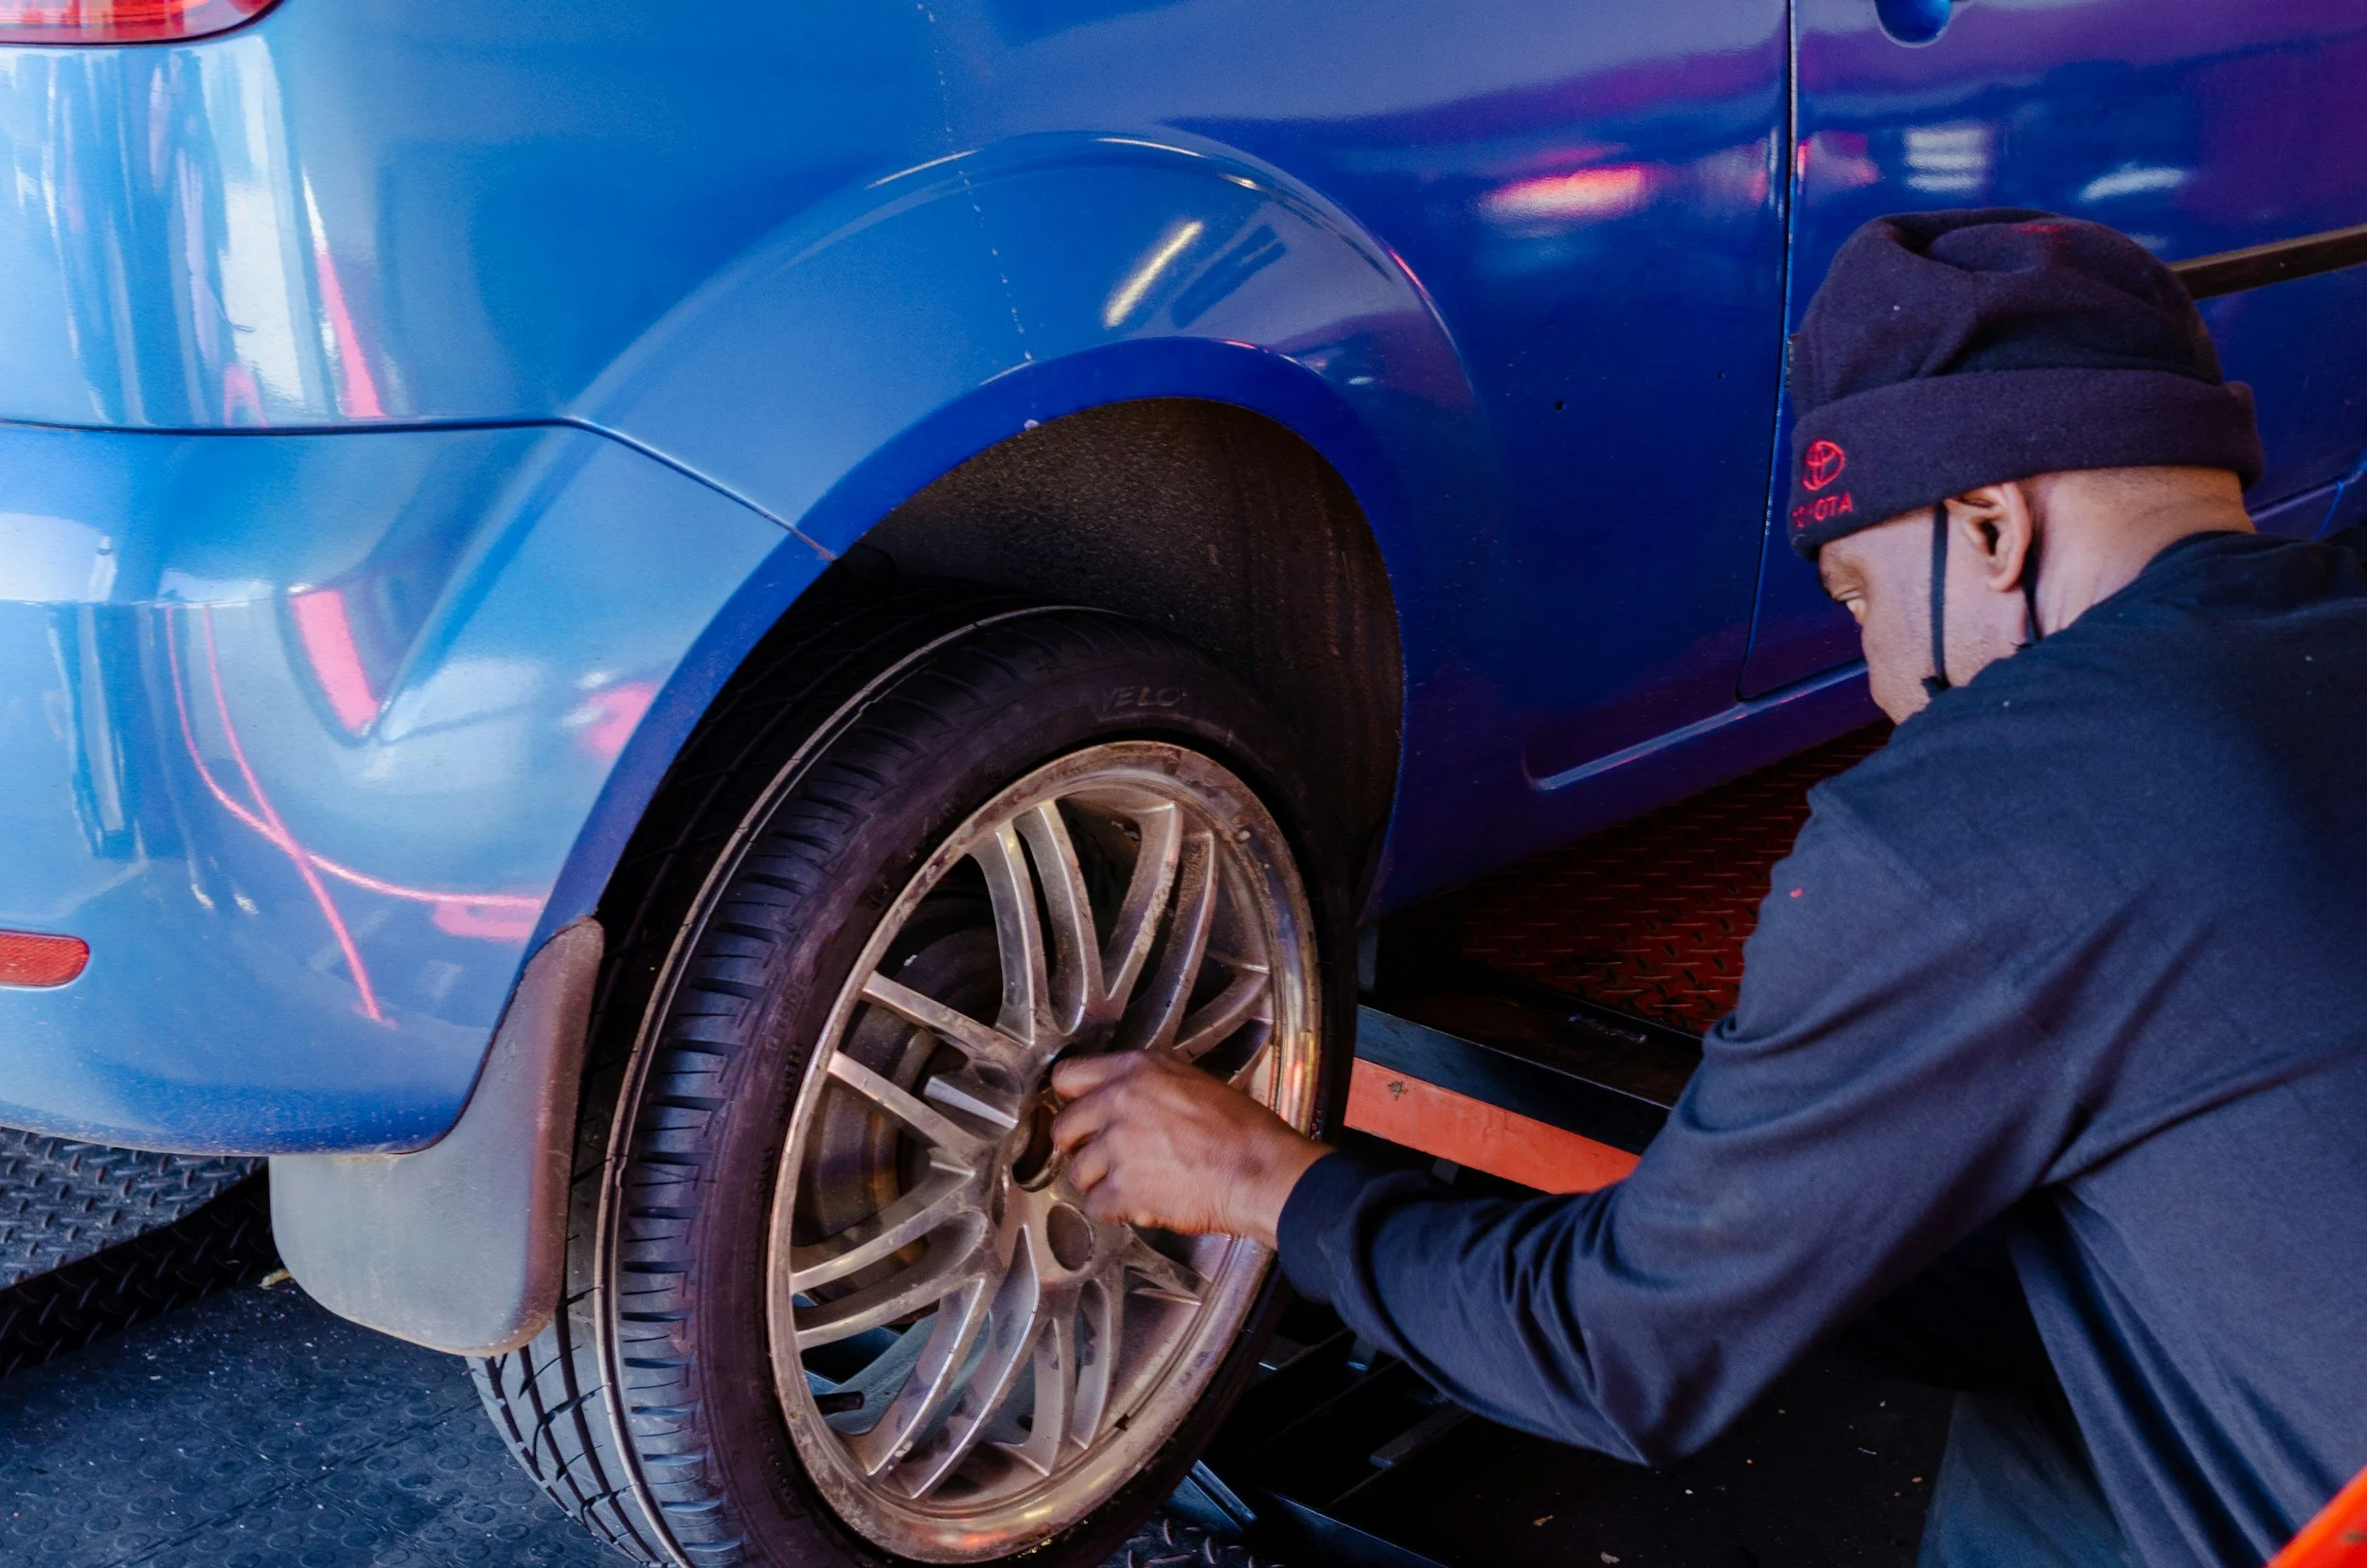
6. Put on the spare and the lug nuts.
Align your spare tire with the spokes and put it on until it is snug. Put the lug nuts back on the spare and tighten them by HAND. Do not use the wrench while your car is on the jack. After this, lower the jack until your car is back on the ground. After the car is off the jack, use your wrench to tighten the lug nuts the rest of the way. Make sure you follow the specific torque specifications of your vehicle and get it checked at a service station as soon as you are back on the road. You don’t want it to be too tight or too loose, as both situations can be dangerous.
7. Replace your hubcap (if you have one).
If there was a hubcap on your flat tire, put it onto your spare and put your flat tire in your trunk. Make sure you collect all of your supplies and now you are good to get back on the road. Now, while you are temporarily back in business, you want to get a real new tire put onto your vehicle as soon as possible. Your spare is only meant to provide you with short-term relief from a flat, not to be driven on for long periods of time.
Now You Know How to Change a Tire!
When you don’t know how to do it, changing a tire can be a scary and stressful situation. But, once you know the proper steps to take to fix your situation, it isn’t so bad. It can even be simple if you have all of the proper knowledge and equipment! Knowing how to do this yourself can save you both time and money in the long run. If you are looking to get a new tire for your vehicle or you need help with maintenance, the team of mechanics at Impact Truck & Auto are here to help. Contact us today at (814) 387-5031 or visit our website to schedule your next service today!